A 30-45 minute duct inspection in the attic can reveal why your AC runs all day without cooling the house properly. You are looking for four things: disconnected joints, damaged insulation, sagging flex duct, and air leaks at connections. The most common finding — a gap at a duct connection — can waste hundreds of dollars per year in lost cooling. This is not a roofing issue. All fixes involve HVAC work.
After following this guide, you'll have identified every ductwork problem in your attic and know which ones to fix yourself and which require an HVAC technician.
What You Need
This inspection requires basic equipment and no HVAC expertise. You are performing a visual check, not a repair. Total equipment cost is under $30 if you need to buy everything.
- LED headlamp ( ) — Hands-free light is critical when moving through an attic
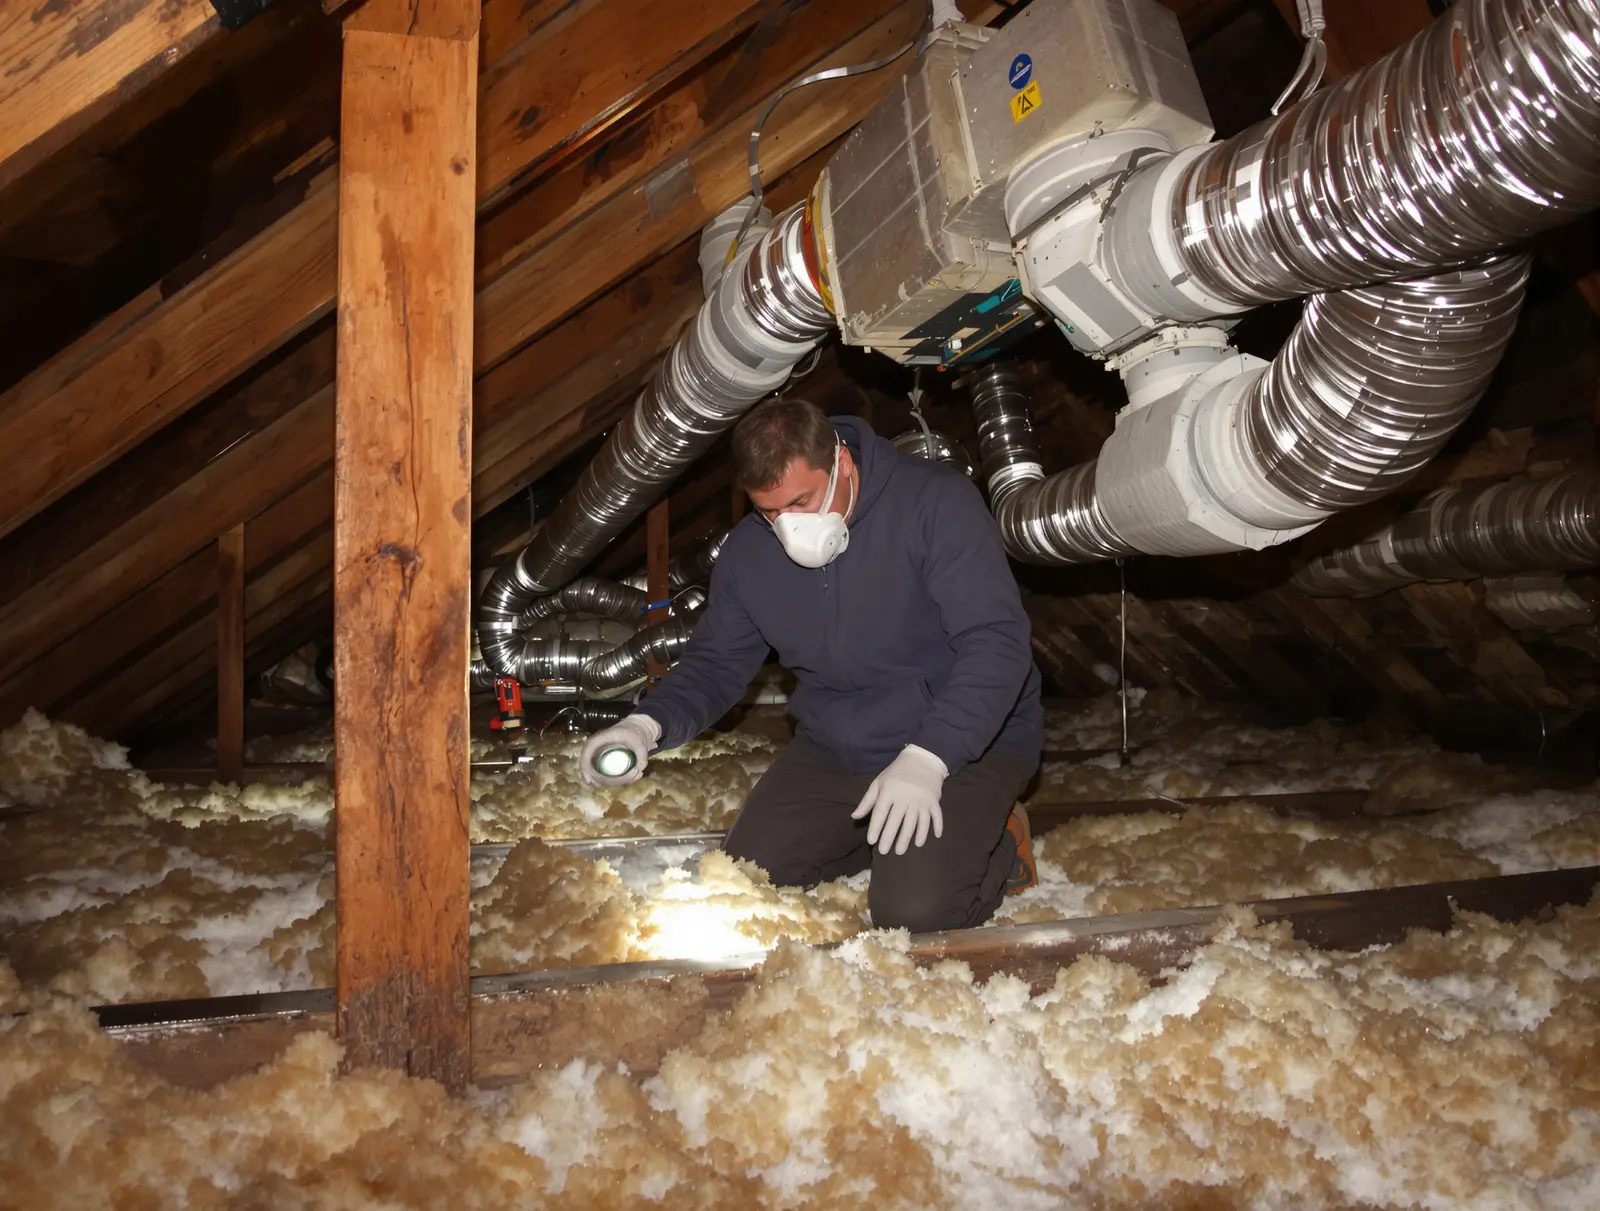
- N95 dust mask ( ) — Fiberglass insulation releases irritating fibers
- Knee pads ( ) — Joists are narrow and hard
- Long-sleeve shirt and pants — Insulation causes skin irritation
- Phone camera — Document every problem you find
- Tissue or lightweight paper — For air leak detection (described in Step 6)
Timing: Enter the attic before 10 AM during summer. Gulf Coast attics reach 130-160°F by afternoon. Heat exhaustion can occur within 15-20 minutes at those temperatures. Set a phone timer for 30 minutes maximum. If the attic is unbearably hot when you open the hatch, postpone to early morning or a cooler day.
Common misconception:
Ductwork inspection requires special tools and HVAC training.
Gulf Coast reality:
A visual inspection requires only a flashlight and your eyes. You are looking for obvious problems — disconnected joints, torn insulation, sagging duct, condensation. These are visible without any diagnostic equipment. An HVAC professional adds value with a duct blaster test (which quantifies total leakage) and access to the air handler interior, but the visual inspection catches the most common and most damaging problems.
Step 1: Locate the Air Handler and Main Trunk
The air handler is the starting point for all ductwork. It is a large metal cabinet, typically 2-3 feet wide and 3-4 feet tall, mounted on a platform above the ceiling joists. The main trunk duct — a large rectangular or round duct — extends from the supply plenum (the metal box on top of or adjacent to the air handler).
Check the connection between the air handler and the plenum first. This is a high-pressure point where leaks have the greatest impact. Look for gaps at the seams, separated sheet metal joints, or missing sealant. Place your hand near the seam with the AC running — if you feel air blowing out, there is a leak.
Note the trunk material. Sheet metal trunks are rigid and hold their shape. Duct board trunks (fiberglass board with a foil facing) can deteriorate in attic conditions — look for sagging, crushed sections, or separated joints at the corners.
Step 2: Check Every Branch Connection
Branch ducts connect the main trunk to individual room registers. In most Gulf Coast homes, these are flexible duct (flex duct) — a wire-reinforced plastic tube with fiberglass insulation and a plastic or foil outer jacket. Each branch has two connections: one at the trunk (where the flex duct slides over a round metal collar) and one at the register boot (a sheet metal box that connects to the ceiling register).
Check each connection for these problems:
- Complete disconnection: The flex duct has pulled off the collar entirely. The duct hangs loose in the attic, blowing conditioned air into open space. This is the worst-case duct failure — that room gets zero cooling while the AC wastes energy cooling the attic.
- Partial separation: The flex duct is still on the collar but has slipped back, creating a gap. You may see the metal collar visible below the duct insulation. Air leaks through the gap.
- Missing or failed strap: Flex duct should be secured to each collar with a zip tie or metal strap tightened over the inner liner. If the strap is missing, the connection will eventually separate.
- Duct tape only (no mastic): Connections sealed with cloth duct tape instead of mastic will fail. The tape adhesive dries and releases at attic temperatures within 1-5 years.
Think about it...
You find a flex duct branch that is connected at the trunk end but completely disconnected at the register boot end. The open duct is blowing cold air into the attic. Meanwhile, the room below that register has been uncomfortably warm all summer. What is happening?
Step 3: Assess Insulation Condition
Every inch of ductwork in the attic should be insulated. The insulation wrap (typically R-6 fiberglass with a vapor barrier facing) prevents heat gain from the 130-150°F attic into the 55-60°F supply air. It also prevents condensation on the cold duct surface.
Check for these insulation problems:
- Torn or missing sections: Any exposed metal duct surface is gaining heat and condensing moisture. Even a 2-foot gap in insulation can raise the supply air temperature by 3-5°F for that branch.
- Compressed insulation: Where duct rests on joists or other surfaces, the insulation gets compressed to a fraction of its original thickness. R-6 insulation compressed to half thickness performs at roughly R-3. Look for flat spots.
- Wet insulation: Insulation that feels damp, is discolored, or shows mold has been condensing moisture. Wet insulation has near-zero R-value and must be replaced. It will not recover when dried.
- Deteriorated outer jacket: The plastic or foil outer jacket on flex duct protects the insulation. If the jacket is torn or peeling, the insulation is exposed to attic air and deteriorates rapidly.
Checkpoint: By now you should have checked:
- Air handler to plenum connection
- Every branch duct connection at both ends (trunk and register boot)
- Insulation condition on all visible duct surfaces
Check Yours: Duct Condition Assessment
Based on what you found during your inspection, answer these three questions for an instant assessment.
Step 4: Check for Sagging
Flex duct should be supported every 4-5 feet with duct straps or hangers. Between supports, a slight sag is normal — up to 0.5 inches per foot of span. Excessive sagging (more than 1 inch per foot, or a duct that droops like a hammock) creates two problems.
Problem 1: Airflow restriction. A sagging duct has a reduced cross-section at the low point. An 8-inch duct that sags to an effective 5-inch opening at the belly restricts airflow to that register by 30-50%. The room served by that duct gets less cooling.
Problem 2: Condensation pooling. The low point of a sagging duct collects condensation that drips off the cold duct surface. Over time, this pool of water saturates the duct insulation from the inside, destroys the insulation R-value, and can develop mold inside the duct itself.
The fix is simple: add duct supports. Use wide duct straps (at least 1.5 inches wide to avoid compressing the flex duct) suspended from the rafters or attic framing. Space supports every 4-5 feet. Never support flex duct with wire or narrow cord, which cuts into the duct and creates compression points. Support cost: .
Step 5: The Tissue Test for Air Leaks
With the AC running, hold a tissue or lightweight piece of paper near each duct connection. This detects air movement you cannot feel with your hand.
At supply duct connections: If the tissue blows outward (away from the duct), conditioned air is leaking out of that joint. The stronger the tissue movement, the larger the leak.
At return duct connections: If the tissue pulls inward (toward the duct), hot, humid attic air is being sucked into the return system. This is particularly damaging because it introduces moisture and heat directly into the AC system, increasing the cooling and dehumidification load.
Prioritize fixing the leaks where the tissue moves most. Large leaks waste the most energy and have the biggest impact on comfort. A connection where the tissue barely moves is a minor leak. A connection where the tissue is blown or pulled strongly is a priority repair.
Professional duct leakage testing quantifies what the tissue test detects. A duct blaster test pressurizes the duct system to 25 Pascals and measures the total airflow needed to maintain that pressure. The result, expressed in CFM25, tells you exactly how leaky your system is. A tight system measures under 75 CFM25. A typical leaky system measures 150-300 CFM25. Testing costs $100-200 as a standalone service, or is included in a thorough duct sealing job.
Duct leakage testing catches leaks the tissue test misses. Connections inside the air handler cabinet, at the return plenum, and at joints hidden under insulation cannot be checked with a tissue. The duct blaster test measures total system leakage regardless of location. If your tissue test finds obvious leaks but your comfort and energy problems persist after fixing them, a professional duct blaster test can reveal hidden leakage.
Step 6: Document and Prioritize
Take photos of every problem and note the room it serves. This helps you (or an HVAC technician) prioritize repairs and return to the exact locations.
Priority 1 — Fix immediately (DIY or professional): Disconnected ducts (rooms with zero airflow), major leaks where the tissue test shows strong air movement, wet insulation indicating active condensation.
Priority 2 — Fix soon (professional recommended): Partial separations at connections, duct tape-only connections that will fail, insulation that is torn but still partially covering the duct.
Priority 3 — Plan for repair: Sagging duct that needs support, compressed insulation at contact points, minor leaks detected by tissue test. These waste energy but are not urgent.
Think about it...
You inspect your ductwork and find: (1) one fully disconnected branch duct, (2) three connections with duct tape that appears to be peeling, (3) two sections of compressed insulation where duct rests on joists, and (4) one section of wet insulation near a connection. How would you prioritize these?
What You Can Fix Yourself
Reconnecting a disconnected duct: Slide the flex duct inner liner over the collar, secure with a zip tie tightened firmly, then pull the outer insulation and jacket over the connection and seal with foil tape. Apply mastic over the entire connection area.
Sealing leaky connections with mastic: Apply to every connection you can reach. Mastic is a thick paste applied with a disposable brush or a gloved hand. It stays flexible permanently — unlike duct tape, it does not dry out or release in heat.
Adding duct supports: Install wide duct straps every 4-5 feet to eliminate sagging. Attach straps to rafters or attic framing with screws.
Call an HVAC technician for: Duct replacement, air handler connections, thorough duct leakage testing, insulation replacement, or any work you cannot safely reach in the attic.
Frequently Asked Questions
How long does a DIY duct inspection take?
A thorough visual inspection takes 30-45 minutes for a typical home. This includes time to locate all duct runs, check connections, assess insulation condition, and document problems with photos. Enter the attic before 10 AM during summer to avoid dangerous heat.
What should I do if I find a completely disconnected duct?
A disconnected duct means one or more rooms are getting zero conditioned air while the AC blows cold air directly into the attic. Reconnect the duct by sliding the flex duct over the collar or boot and securing with a zip tie and mastic. If the duct is too short to reach or the collar is damaged, call an HVAC technician. This is an urgent fix — every hour the AC runs, conditioned air is being wasted.
Can I add insulation to my ducts myself?
You can add insulation wrap to accessible duct sections. Use R-6 or R-8 duct wrap (fiberglass or foam-backed) designed for HVAC applications. Wrap the duct with the vapor barrier facing outward and seal all seams with foil tape. The main challenge is working in a hot attic with limited clearance. Sealing connections with mastic before insulating is important — insulation over a leaky joint just hides the leak.
My ductwork looks fine from the outside. Could there still be problems?
Yes. Duct leakage at connections is often invisible from the outside because the insulation wrap covers the joints. A connection that looks intact may have a 1-2 inch gap hidden under the insulation. The only way to detect these hidden leaks is a duct leakage test (duct blaster) performed by an HVAC professional, or checking supply register temperatures to detect the performance impact.
What to do next
Quick recap
A 30-45 minute duct inspection can identify disconnected joints, damaged insulation, sagging duct, and air leaks — problems that waste 20-30% of your cooling capacity. Reconnecting disconnected ducts and sealing connections with mastic are the highest-impact fixes.
Your next step
Enter the attic tomorrow morning with a headlamp and run through the 6-step inspection. Start by locating the air handler and checking the first connection — that's where the biggest leaks often hide.